Pattern for Butterfly wreath:
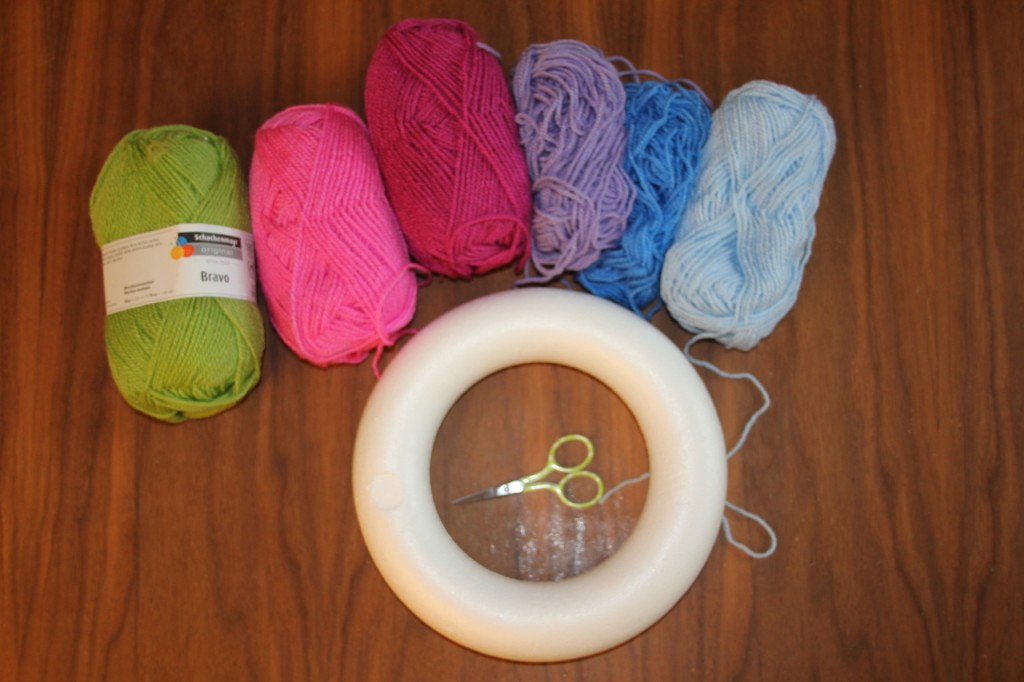
Yarn: SMC Bravo, 100% acrylic, 50 g/133 m, original Gauge 10 x 10 cm: 22 stitches x 30 rows
Gauge of crocheted cover: 10×10 cm = 21 sc x 22 rows
Hook: 3 mm
Stitches used: chain (ch), single crochet (sc)
Supplies:
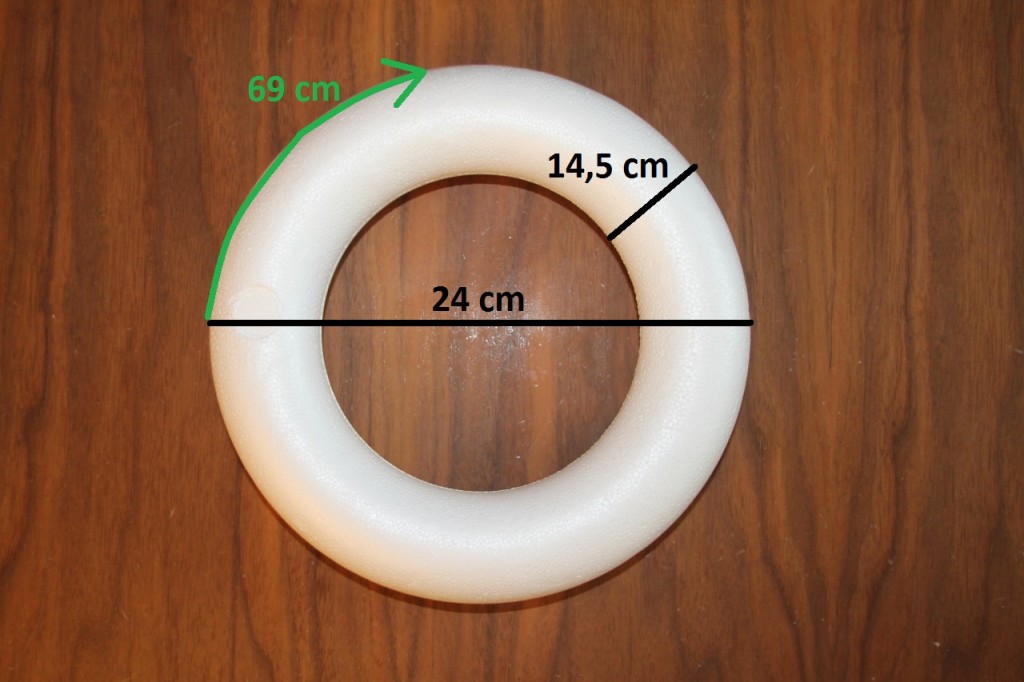
polystyrene wreath: diameter 24 cm, coverage 14,5 cm
tapestry needle
fixing pins
small scissor
7 mm band (I used Rayher in soft pink, 10m/7mm) to hang it on your wall/door
nylon thread (to put on the appliques)
beads in different colours
General information:
You can use any size of polystyrene wreath, but you will need to adjust width and length of the cover you are going to crochet.
Make sure it is wide and enough to fit around the wreath, but not loose! Use acrylic yarn, the cover needs to be elastic to fit around the wreath.
Pattern:
1. ch 31, 30 sc
2. ch1, 30 sc
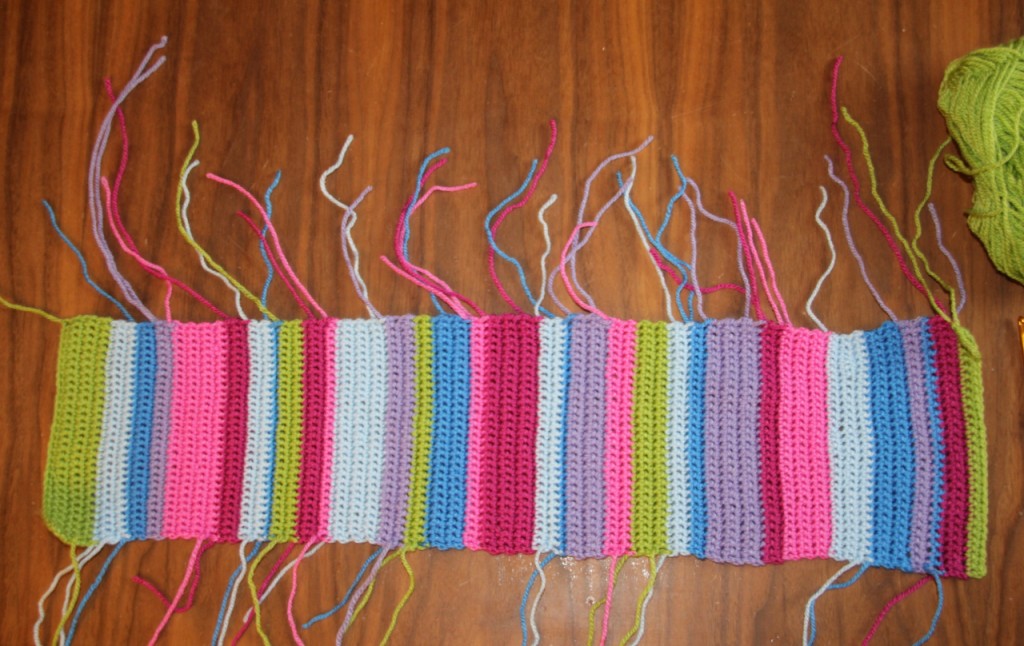
Repeat row 2 in alternating colours until you have the desired length!
TIP:
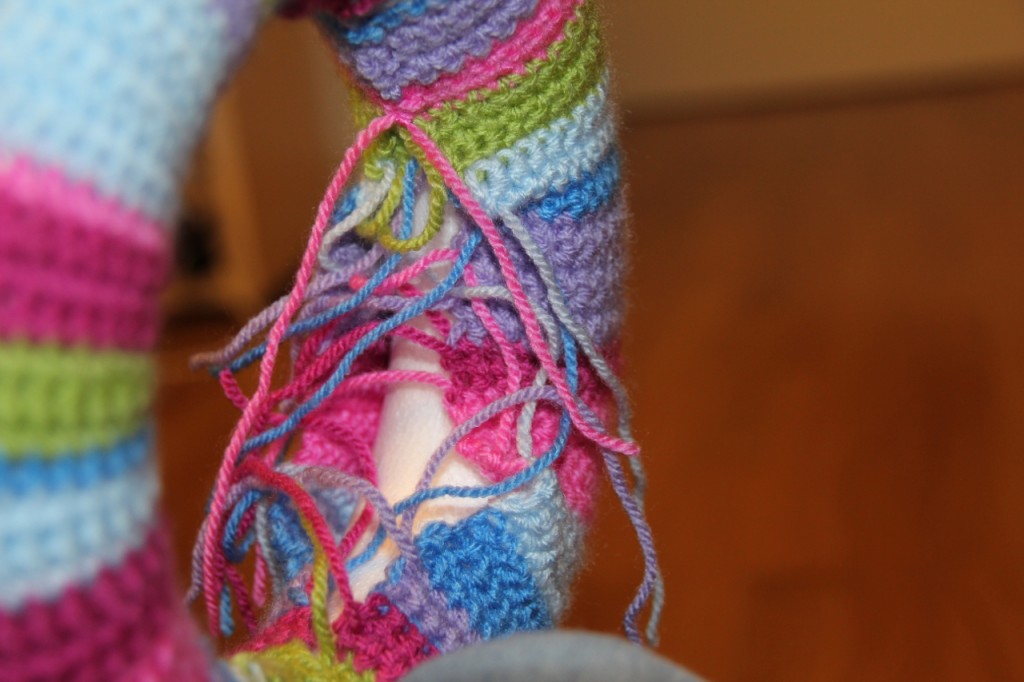
When changing colours, make sure you leave a long tail, you will need it for the seam! Make sure you change colours always on one side, so you have all yarn tails on one side (I did not :P but it would have been easier this way).
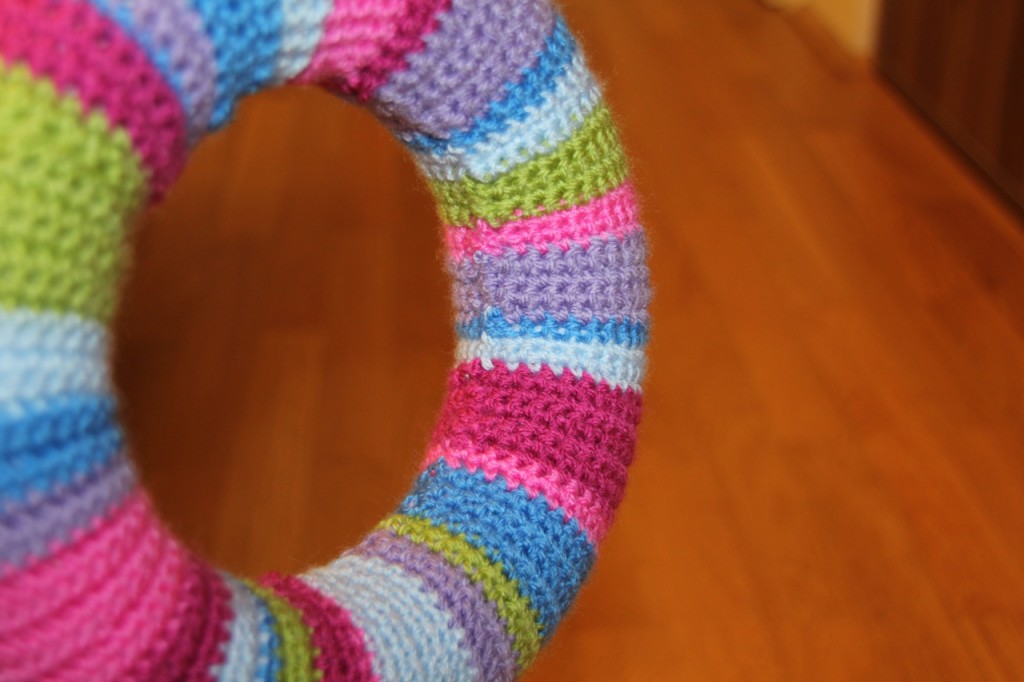
Put the cover around your wreath consistantly to make sure the cover has the right size.
My covers measures are:
15 cm width and 54 cm long.
Once again try it on, before you finish this piece of work.
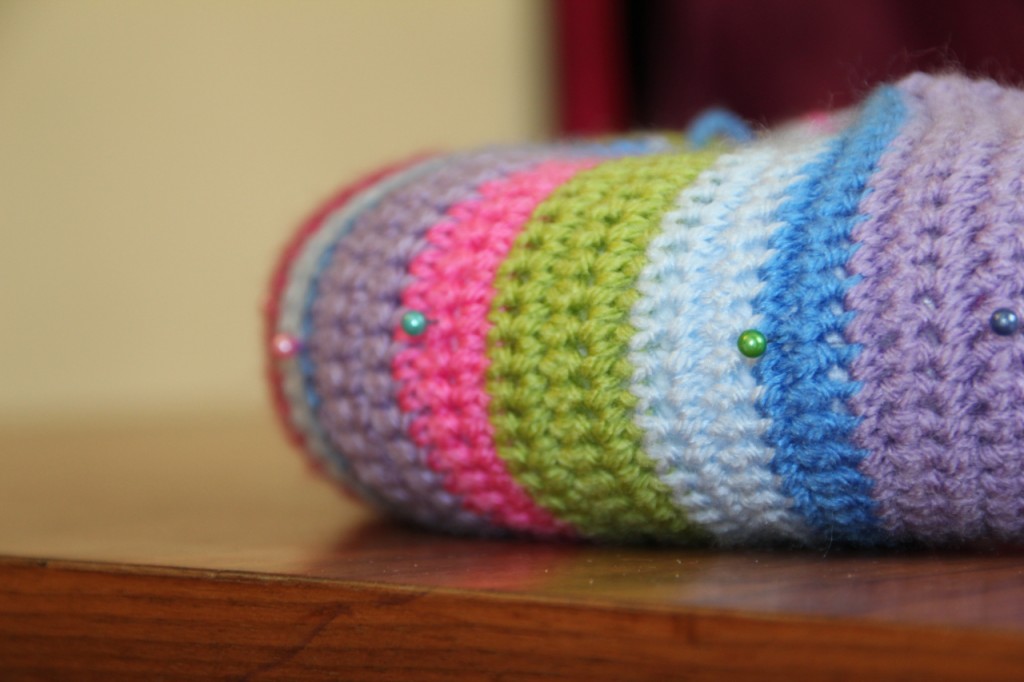
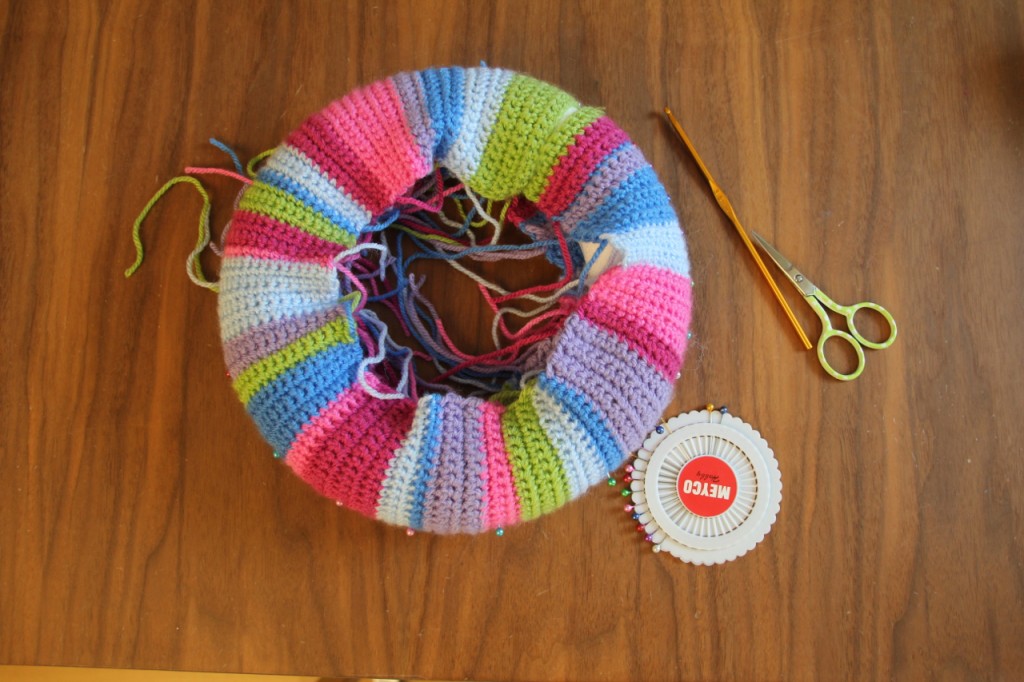
Now go on with attaching the cover onto the wreath and fix it with pins – the open side should be on the inside of the ring, so you won’t see the seam in the end! Don’t worry if it doesn’t fit at first, the yarn should be elastic enough to correct a few missing rows.
Now start with closing the ends of your band – first the small ends (width ends first)!
Then go on closing the band on the inside of the ring.
TIP: When you are finished with closing a stripe in one colour, leave the yarn tails and hide them under the closure of the next stripe. Then cut them off.
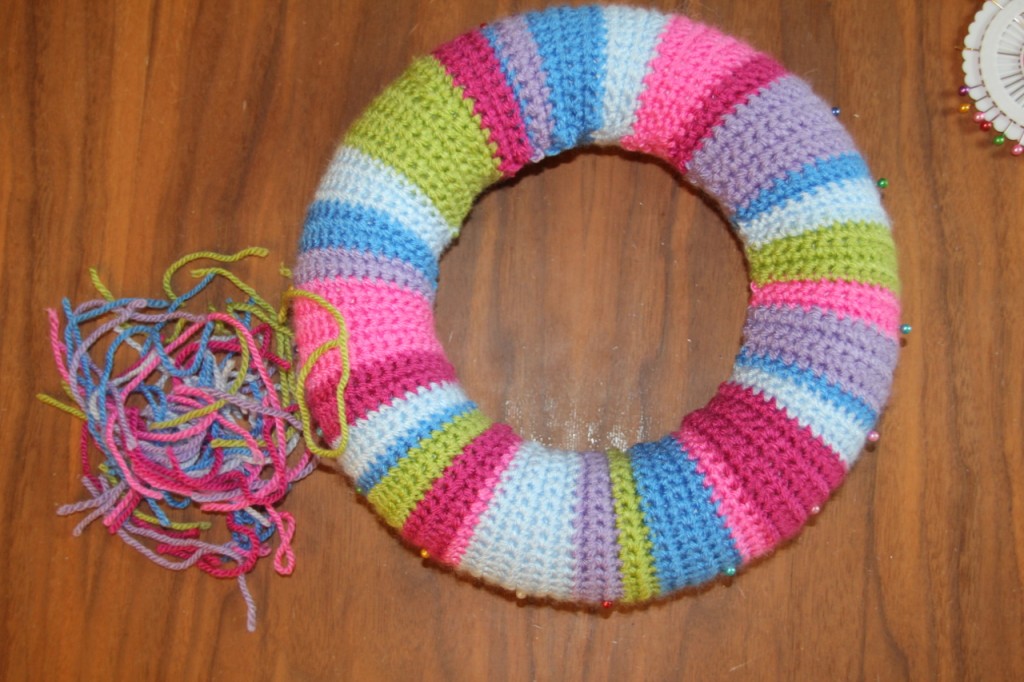
It’s a hard and loooooong work to close the cover, but it’s worth the effort :)
If you want, keep the yarn tails – they can be used to stuff small crochet toys ect. (recycling yaaayyyy)!
Don’t forget to remove the fixing pins :P
Now on to the decoration:
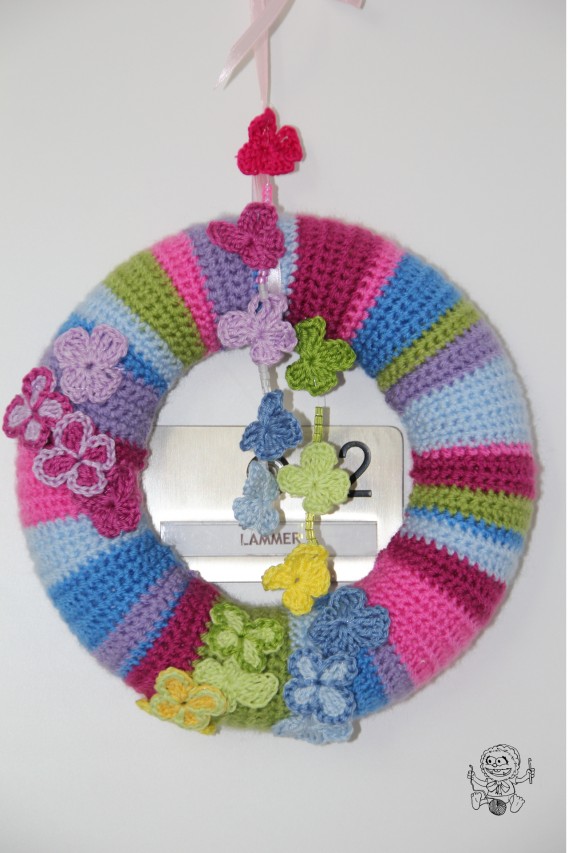
I made butterflies in different colours. The pattern for the butterflies I used can be found here.
I used a 100% cotton yarn for the butterflies, because it’s more beautiful than butterflies made out of the SMC Bravo.
But of course you can use any yarn you want. I needed to use two different brands of cotton yarn, because the colours I wanted weren’t available from one brand only.
Make as much butterflies as you want (more is more here :P). Then apply them with fixing pins on the wreath, take your time to decide how many and were you want to put them. I tried different designs for a few days until I came to a final decision.
Sew the butterflies on the wreath with the nylon thread. Alternatively you can leave long tails before you fasten off, when finishing the buttfly, to sew it on the wreath.
Decorate the wreath with butterflies and beads hanging on a nylon thread.
Put on the band to hang it up your wall / door.
And you’re finished :)
That’s what our front door looks like now :)
I hope you like this pattern.
If you have any questions, don’t hesitate to ask, comment or email me!
Happy yarning
Veronika


One comment